
The Best eSIM Data Plans for Travelers Who Hate Roaming Fees
Ever found yourself juggling physical SIM cards at the airport, hoping you don’t lose one before landing? An eSIM data plan is a digital profile you download straight onto your phone, letting you activate a mobile data connection without ever touching a plastic card. You simply scan a QR code or enter a code from your carrier, pick a data package, and you’re online in minutes—often with local rates and no roaming headaches. It’s the fastest way to switch between networks while traveling, all managed from your device’s settings.
What Exactly Is an eSIM Data Plan and How Does It Differ From a Physical SIM?

An eSIM data plan is a digital profile downloaded directly onto your device’s embedded chip, eliminating the need for a plastic card. Unlike a physical SIM, which you insert and swap, an eSIM plan can be activated by scanning a QR code or using an app, letting you switch carriers or add data packages in minutes without visiting a store. Practically, this means you can hold multiple data plans on one phone—say, a home plan and a travel plan—and toggle between them in settings instantly, while a physical SIM locks you to one operator per slot. You also avoid the risk of losing or damaging a tiny card, and the eSIM’s profile is rewritable, so you can erase and replace it as needed. Q: “What happens if I change phones?” A: You simply re-download the eSIM profile on the new device, whereas a physical SIM transfers by moving the card itself.
The Core Mechanics: How Your Device Connects to a Carrier Without a Plastic Card
Instead of inserting a plastic card, your phone uses a tiny embedded chip—the eSIM—that holds a secure profile you download over the internet. When you buy an eSIM data plan, the carrier sends a QR code or activation code; scanning it installs their network credentials directly onto that chip. Your device then authenticates with the carrier’s towers just like a physical SIM would, but entirely in software. This means you can switch carriers by simply erasing one profile and adding another, without visiting a store. Remote provisioning is the magic here, letting you activate service in minutes. Your phone essentially becomes the card, with no plastic to lose or swap.

- Scan a QR code or enter a manual activation code to download the carrier profile.
- The eSIM chip stores multiple profiles, so you can switch between plans in settings.
- No physical tray means your device connects instantly after profile installation.
Key Differences in Flexibility, Switching, and Storage Compared to Traditional SIMs
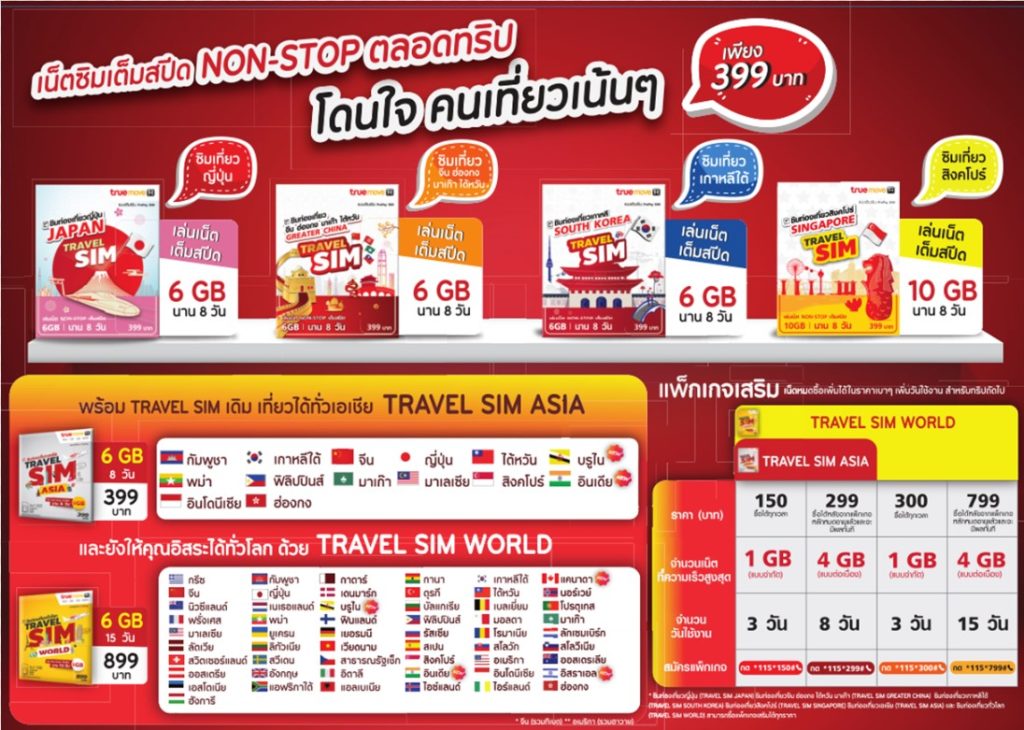
With an eSIM data plan, flexibility is no longer tied to a plastic card. You can switch carriers or activate a new travel data package directly from your phone’s settings, often within minutes, whereas a physical SIM requires finding a store, waiting for delivery, or fiddling with a SIM ejector tool. Storage is another major leap: a single device can hold multiple eSIM profiles, letting you keep your home number active while storing several international data plans. However, you typically use only one profile at a time. Crucially, this eliminates the hassle of carrying spare SIMs or risking loss or damage, delivering unmatched convenience versus physical SIM management.
How to Pick the Right Data-Only eSIM for Your Trip or Daily Use
Start by mapping your destination and duration to the plan’s coverage zones, not just the price tag. For trips, choose a regional plan that includes your transit countries, or your connection fails mid-route. For daily use, prioritize a plan with a generous high-speed data cap and a clear throttle policy—check the “fair usage” clause, as some “unlimited” plans drop to unusable 128 kbps. Verify your phone is unlocked and supports the eSIM’s frequency bands (e.g., LTE band 28 for rural areas). Always buy a plan with an easy top-up option, like via a provider app, to avoid hunting for Wi-Fi. Q: How do I avoid buying the wrong size plan? A: Estimate your video/maps usage first, then add 30% buffer; for daily drivers, track your last 30 days of mobile data in your phone settings. Finally, read the activation steps before purchase—some plans need QR scanning pre-departure, others activate on landing.
Matching Coverage, Network Speed, and Data Allowance to Your Device Needs
Match your eSIM to what your device actually does daily. A flagship phone handling 4K video calls needs generous data allowances and 5G speeds, while a basic tablet for offline maps can survive on a cheaper, slower 4G plan. Coverage matters more than raw speed—check the provider’s map against your exact routes, especially if you cross borders. *A plan that looks fast in a city might drop to unusable lag in rural zones, so prioritize consistent signal over peak numbers.* For light usage like messaging, a 500MB daily cap is fine; for hotspotting a laptop, you’ll want unlimited or 10GB+.
Q: How do I know if a 5G plan is worth it for my device? A: Only pay for 5G if your phone supports it and you stream or upload large files on the go. If you mostly browse or navigate, 4G LTE plans give you better value and longer battery life.
Evaluating Plan Durations, Rollover Policies, and Fair Usage Limits

Match the eSIM’s validity window to your actual travel dates, adding a buffer for jet lag or unexpected extensions. Scrutinize rollover policies before buying—many providers expire unused gigabytes at the plan’s end, while a few let you carry data into a renewal cycle. Likewise, fair usage limits on “unlimited” eSIMs often throttle speeds after a daily threshold, so calculate whether your streaming habit hits that cap. A 30-day plan with rollover can save you money if your trips are sporadic, but only if the provider actually honors the carryover without hidden resets.
- Compare cost-per-gigabyte across 7-day, 15-day, and 30-day tiers to avoid overpaying for idle days.
- Check if rollover data expires with the next top-up or after a fixed calendar month.
- Read the fair usage policy for peak-hour speed reductions, not just total data volume.
Checking Device Compatibility and Unlocked Status Before You Commit
Before purchasing any eSIM data plan, verify your smartphone supports eSIM functionality—typically found in model specifications for recent iPhones, Pixels, and Samsung Galaxy devices. Next, confirm your device is carrier-unlocked, since locked phones may reject third-party eSIM profiles or restrict network switching entirely. Even an unlocked phone can encounter regional frequency gaps, so cross-check your device’s supported LTE/5G bands against the destination’s common networks. Also, test the eSIM installation flow via your provider’s app or QR code before you travel, ensuring no hidden IMEI or software restrictions block activation. Skipping these checks risks wasted money and a dead connection abroad, so treat compatibility validation as your first non-negotiable step. A mismatched device compatibility inevitably turns an otherwise excellent plan into a frustrating offline experience.
Step-by-Step Guide to Activating and Managing Your First Digital Profile
To activate your first eSIM data plan, begin by confirming your device supports eSIM and is carrier-unlocked. Open your phone’s settings, navigate to “Mobile Data” or “Cellular,” and select “Add eSIM.” Scan the QR code provided by your data plan provider, or manually enter the SM-DP+ activation code. After the profile downloads, assign it as your default data line, ensuring your primary SIM remains for calls if needed. To manage the profile, revisit the same settings menu to monitor data usage, set low-data mode for background apps to conserve your allowance, or temporarily suspend the eSIM when roaming. If issues arise, toggle the line off and on, or re-download the profile by rescanning the original QR code. Finally, set a data usage warning alert to avoid unexpected overage charges.
Scanning a QR Code, Manual Entry, and Installing Multiple Profiles on One Phone
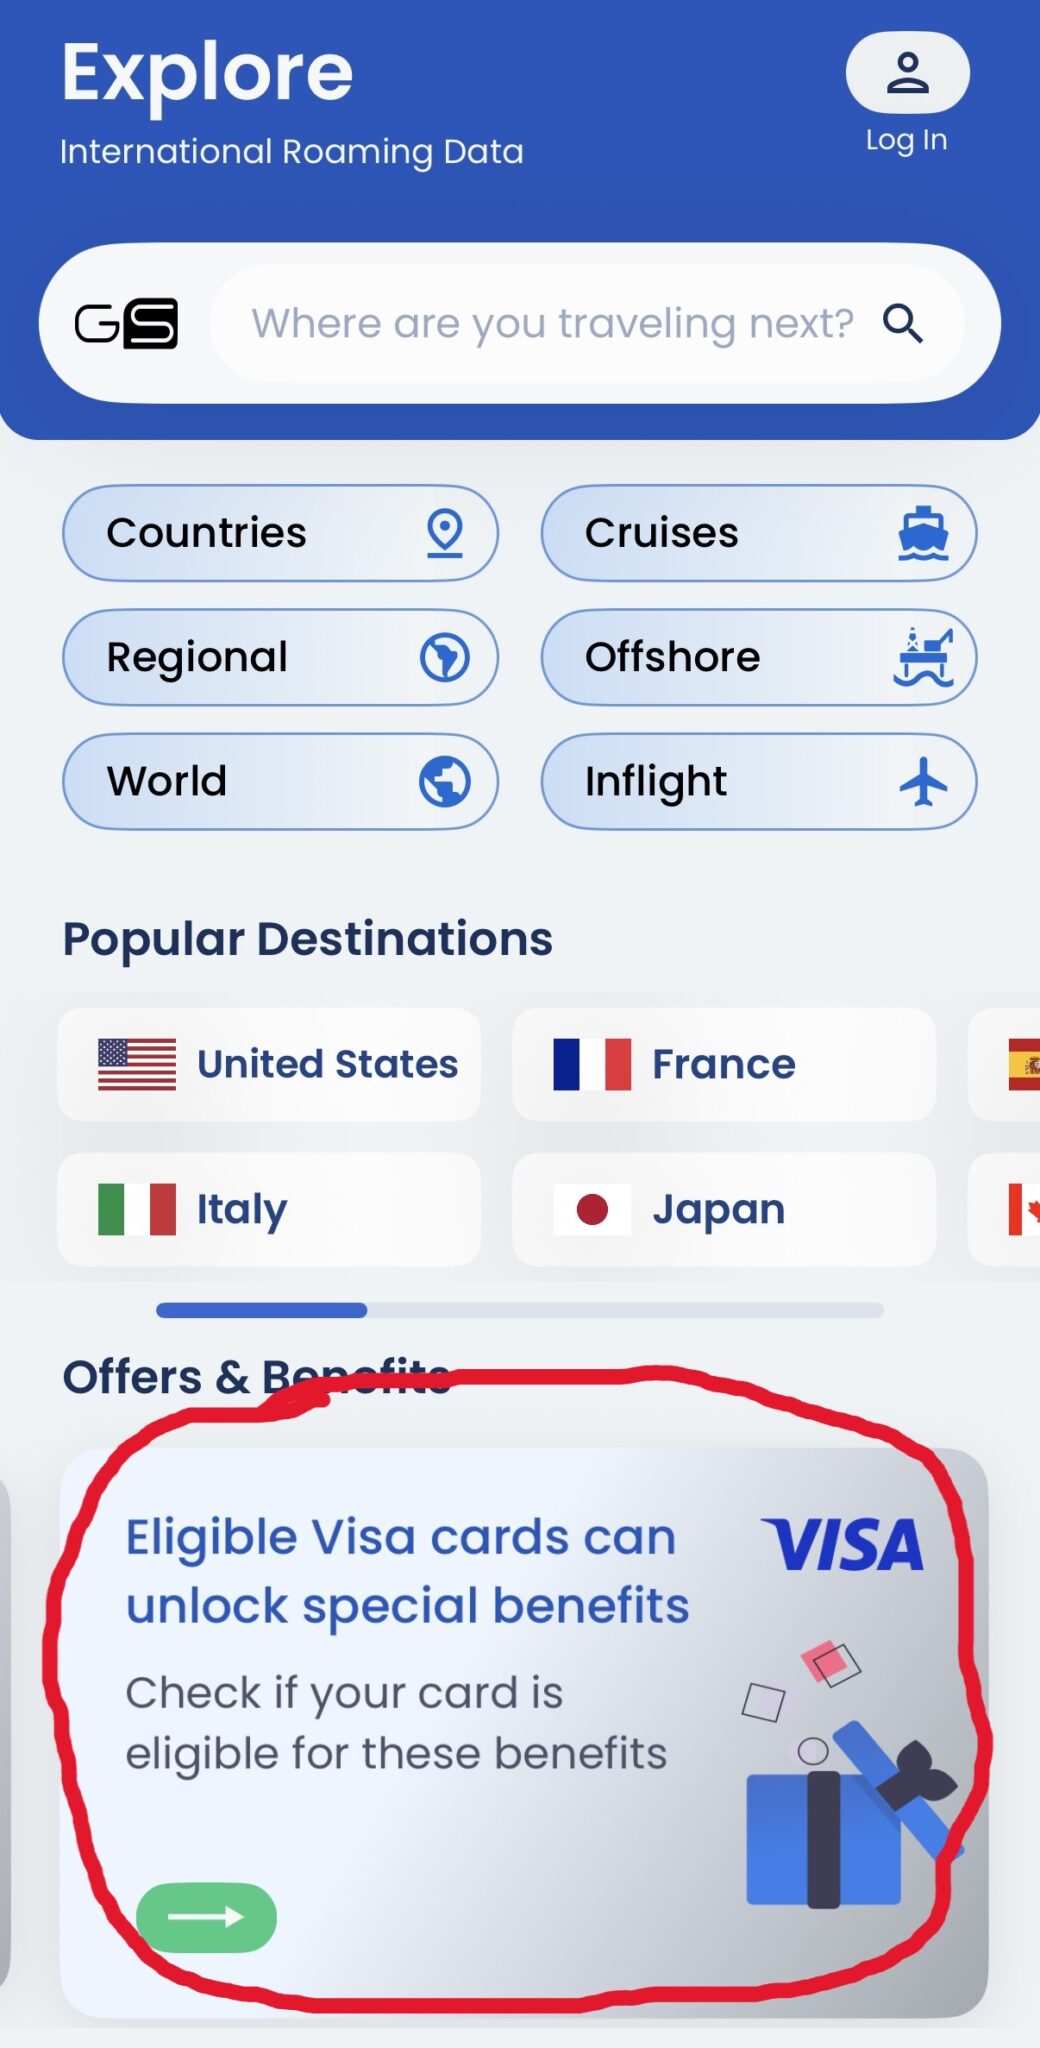
To activate your eSIM data plan, **scanning a QR code from your carrier is the fastest method**: open your phone’s cellular settings, choose “Add eSIM,” and aim the camera at the code—activation completes in under a minute. If the QR code fails, manual entry lets you type the SM-DP+ address and activation code exactly as provided, which is vital when the carrier sends details via email. For managing multiple profiles on one phone, install travel and home plans separately, then label each (e.g., “Work,” “Spain”) to avoid confusion. Follow this sequence:
- Scan or enter the first profile’s details.
- Assign a clear label and default line for calls and data.
- Add the second profile, then toggle between them in settings—only one data line stays active, but you can switch instantly without removing either profile.
Switching Between Active Plans, Monitoring Data Use, and Topping Up Remotely
Managing your eSIM means mastering three core actions: switching between active plans, monitoring data use, and topping up remotely. When traveling, keep one plan for primary data and another for backup—toggle instantly in your device settings without swapping physical cards. Monitor data use through your carrier’s app or dashboard; set alerts to avoid surprise overages. The moment you hit a low balance, top up remotely via the same interface using a credit card or stored payment method, and the new data lands within minutes. This trio of controls gives you on-the-fly eSIM plan management, eliminating downtime and overpaying.
Switch plans, check usage, and refill data from anywhere—your eSIM stays flexible, connected, and budget-safe.
Maximizing Value: Tips to Avoid Bill Shock and Squeeze Every Megabyte
To truly maximize value with eSIM data plans, start by auditing your device’s background app refresh and disabling auto-downloads for updates—silent drains that devour megabytes before you even open a map. Choose a plan with a granular top-up tier, then lock your carrier’s app to a “data-strict” mode, which forces every connection through cellular only when needed. Before you travel, download offline maps and streaming playlists, then activate a daily usage alert at 80% of your quota to catch runaway apps early. A key insight:
purchase a dual-profile eSIM setup—one for critical apps, one for heavy browsing—so you can kill the latter the moment you hit your comfort threshold.
Finally, toggle on “low data mode” globally, but remember to switch it off for WhatsApp or banking; otherwise you’ll cap your own efficiency. Squeeze every megabyte by tracking usage in real time, not at month’s end.
Using Offline Maps, Background Data Restrictions, and Wi-Fi Assist to Stretch Allowances
To make your eSIM data last, start by pre-loading maps for your destination on Wi-Fi, then switch your navigation app to offline mode so you’re not burning megabytes on street tiles. Next, dive into your phone settings and shut down background data for social apps, email, and streaming services — they quietly drain allowances even when you’re not looking. Finally, keep Wi-Fi Assist enabled to automatically fall back on known networks, which prevents your eSIM from shouldering the load in weak-signal spots. These three tweaks, used together, can stretch a tight data plan surprisingly far without you obsessing over every notification.
Understanding Implicit Roaming, Throttling Triggers, and Zero-Rating Exceptions
**Understanding implicit roaming** is critical because many eSIM plans activate roaming only when your primary carrier’s signal is absent; if your phone latches onto a partner network while your home carrier still shows bars, you may incur pay-per-MB charges unknowingly. **Throttling triggers** often hide in fair-use clauses—after exceeding 5GB, speeds drop to 128kbps, but some providers throttle based on *session type* (e.g., video streaming) rather than total data. For **zero-rating exceptions**, confirm whether social media or navigation apps are truly unmetered or merely *speed-limited* post-threshold. Always check your eSIM dashboard for “trip mode” to disable implicit roaming, and verify throttling resets monthly, not per connection.
Common Problems With eSIM Data and How to Troubleshoot Them Yourself
With eSIM data plans, the most common failure is a sudden loss of connectivity right after activation, often caused by incomplete installation—so first, manually reselect your carrier network and toggle airplane mode for 30 seconds. If data speeds crawl, your profile might be pointing to the wrong APN; check your eSIM settings against the provider’s official values and create a new APN entry if needed. Another frequent issue is “no service” when roaming, which usually means data roaming is disabled in your phone’s cellular settings—enable it even if your plan advertises global coverage. **A quick device restart often resolves temporary profile handshake errors**, but if the problem persists, delete and re-download the eSIM QR code after verifying your plan is active online. **Battery drain or overheating can indicate the eSIM is continuously re-scanning**, so disable automatic network selection and pick $1 eSIM a specific operator manually. *Remember that local carrier outages can mimic a broken profile, so check provider status pages before resetting everything.*
Why the Profile Won’t Download, Connecting Issues After Arrival, and Quick Fixes
A profile often won’t download due to a weak signal, airplane mode still active, or an incorrect QR code scan—so connect to stable Wi-Fi, disable VPNs, and manually enter the activation code instead. After arrival, connecting issues usually stem from the eSIM not recognizing the local network yet; force a refresh by toggling roaming on, restarting the phone, and selecting the carrier manually under network settings. Quick fixes that resolve most failures include deleting and reinstalling the profile, updating carrier settings, and ensuring the activation date matches your trip start. If all else fails, switch the eSIM line to primary and reboot twice.
What Happens If You Delete a Plan, Switch Phones, or Lose Your Device Mid-Trip
Deleting an eSIM plan mid-trip instantly cuts your data, and without a backup QR code or confirmation email, you cannot re-download it—so you’ll be hunting for Wi-Fi to recover it. Switching phones requires re-installing the eSIM on the new device, often via a fresh QR scan, but some carriers lock the plan to the original IMEI, forcing you to contact support. Losing your device is worse: the plan is stored on that hardware, and unless you backed up the QR code or used a carrier app, it’s gone with the phone. However, most providers now offer remote re-installation through an online account, but only if you can verify your identity from another device. **Always screenshot your QR code before departure** to avoid a mid-trip data blackout.
Q: Can I recover my eSIM if I lose my phone mid-trip?
A: Only if you saved the original QR code or have carrier app access on a second device—otherwise, you must buy a new plan.
